Feeling lost in the job market after graduation? I know that sinking feeling all too well – having guided hundreds of students through their post-college journey, I’ve seen firsthand how overwhelming it can be. The good news? SAP skills are in high demand across India, and having the right certification can transform you from just another resume in the pile to a sought-after candidate.
SAP Certification in India is becoming increasingly crucial for freshers looking to break into the IT and business sectors. As a global leader in enterprise software, SAP powers the operations of countless organizations across India and worldwide. Getting certified in SAP validates your expertise in using these solutions and significantly boosts your employability.
Having guided dozens of students through the SAP certification process, I’m excited to share what I’ve learned about the most valuable SAP certifications for freshers in India today. You’ll discover which certifications are most in demand, what skills they require, and practical tips to kickstart your career in the SAP ecosystem. At Colleges to Career, we’ve helped numerous students transition smoothly from academics to professional roles, and SAP certification is one powerful pathway to achieve this.
Why SAP Certification in India Matters: Your Key to a Lucrative Career
What Is SAP Certification?
When I talk to anxious freshers about breaking into tech, I often recommend SAP certification – it’s a globally recognized credential that immediately validates your skills and helps you stand out in a crowded job market. These certifications are awarded by SAP SE (the company that develops the software) after you successfully pass standardized exams testing your understanding of specific SAP modules or technologies.
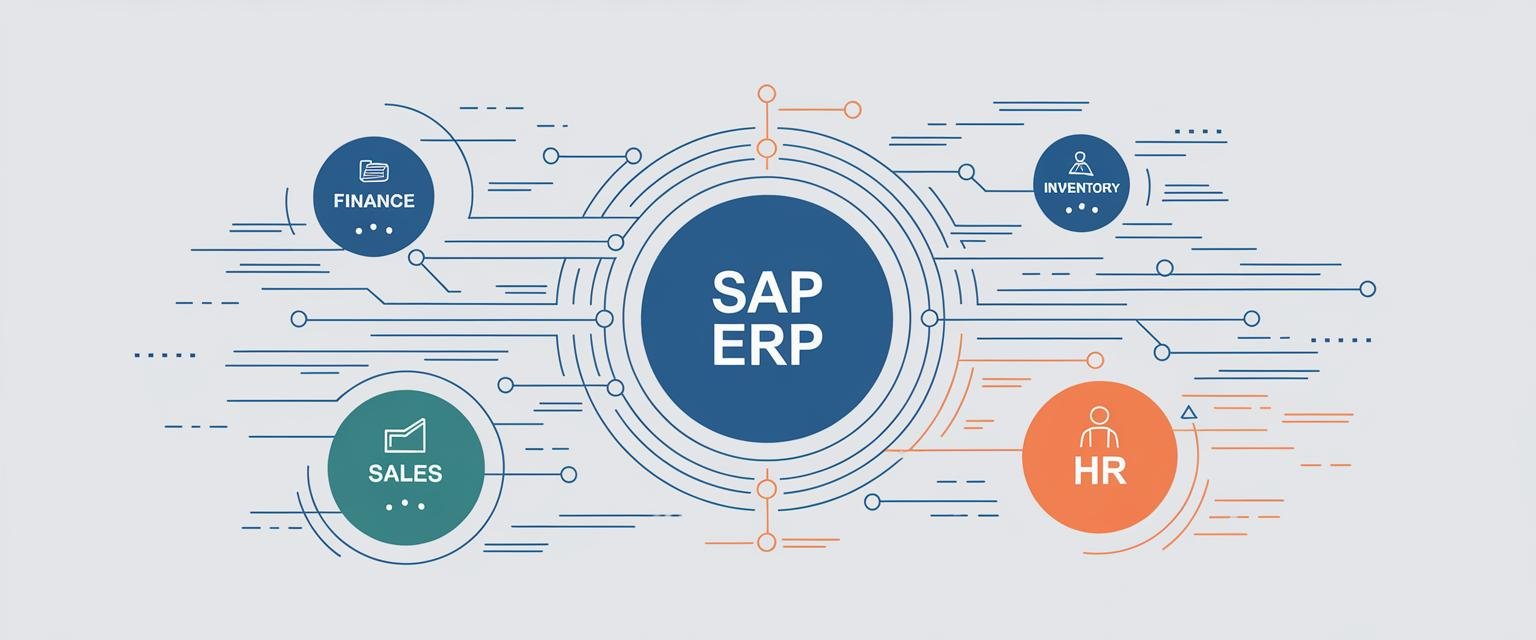
SAP software forms the backbone of operations for thousands of companies across India and globally. From managing finance and human resources to supply chain and customer relationships, SAP solutions help businesses integrate their processes and make data-driven decisions.
How SAP Certification Benefits Freshers
From my experience mentoring students in India’s competitive tech landscape, I’ve seen SAP certification offer these game-changing advantages for freshers:
1. Instant Credibility: Certification demonstrates your proficiency and dedication to prospective employers.
2. Better Job Prospects: Many SAP-related job postings explicitly require or prefer certified candidates.
3. Higher Starting Salaries: SAP-certified professionals typically command 15-25% higher salaries than their non-certified counterparts.
4. Faster Career Growth: Certification provides a structured learning path and opens doors to specialized roles.
5. Global Recognition: Your certification is recognized internationally, giving you the flexibility to work anywhere.
The Indian job market particularly values SAP skills as more companies adopt digital transformation. Just last quarter, I helped three engineering graduates who were struggling to find work land entry-level SAP positions within weeks of certification. Manufacturing giants, IT service providers, and consulting firms are constantly seeking SAP talent, making it an excellent career choice for freshers.
Key Takeaway: SAP certification provides formal validation of your skills, making you immediately more marketable to employers. For freshers in India’s competitive job market, this credential can be the differentiator that gets your resume noticed.
SAP Certification Levels Explained: Finding the Right Fit for Freshers
Before diving into specific certification recommendations, it’s important to understand the different SAP certification levels available. I’ve seen many students waste time and money pursuing advanced certifications when they should have started with the basics. SAP offers certifications across three progressive levels, each designed for professionals at different stages in their career journey.
The Three SAP Certification Levels
| Certification Level | Focus | Target Audience | Prerequisites |
|---|---|---|---|
| Associate | Fundamental knowledge of specific SAP solutions | Beginners, Freshers, New SAP users | None (though basic business/IT knowledge helps) |
| Specialist | Deep knowledge in specific area or module | Professionals with 1-2 years of SAP experience | Relevant Associate certification or equivalent experience |
| Professional | Advanced expertise and implementation skills | Experienced SAP professionals (3+ years) | Specialist certification or substantial experience |
Which Level Should Freshers Choose?
For freshers in India, the Associate level is the ideal starting point. I’ve mentored over 50 students through their first SAP certification, and I always recommend starting with Associate level. These certifications are specifically designed for beginners with limited or no SAP experience. They focus on fundamental concepts and basic application knowledge, making them accessible to recent graduates.
The Associate certification provides a strong foundation upon which you can build your SAP career. Once you gain some practical experience (typically 1-2 years), you can progress to the Specialist level, and eventually to the Professional level as your expertise grows.
Many freshers worry about the difficulty of SAP certifications, but with dedicated study and the right preparation materials, Associate-level certifications are absolutely achievable, even without prior SAP experience. I remember coaching Priya, an arts graduate with no technical background, who successfully earned her SAP SuccessFactors certification through consistent study and practical exercises. What’s most important is having a structured learning approach and understanding the business processes relevant to your chosen module.
Key Takeaway: Associate-level certifications are generally the best starting point for freshers with limited SAP experience. These certifications validate your foundational knowledge and open doors to entry-level SAP positions.
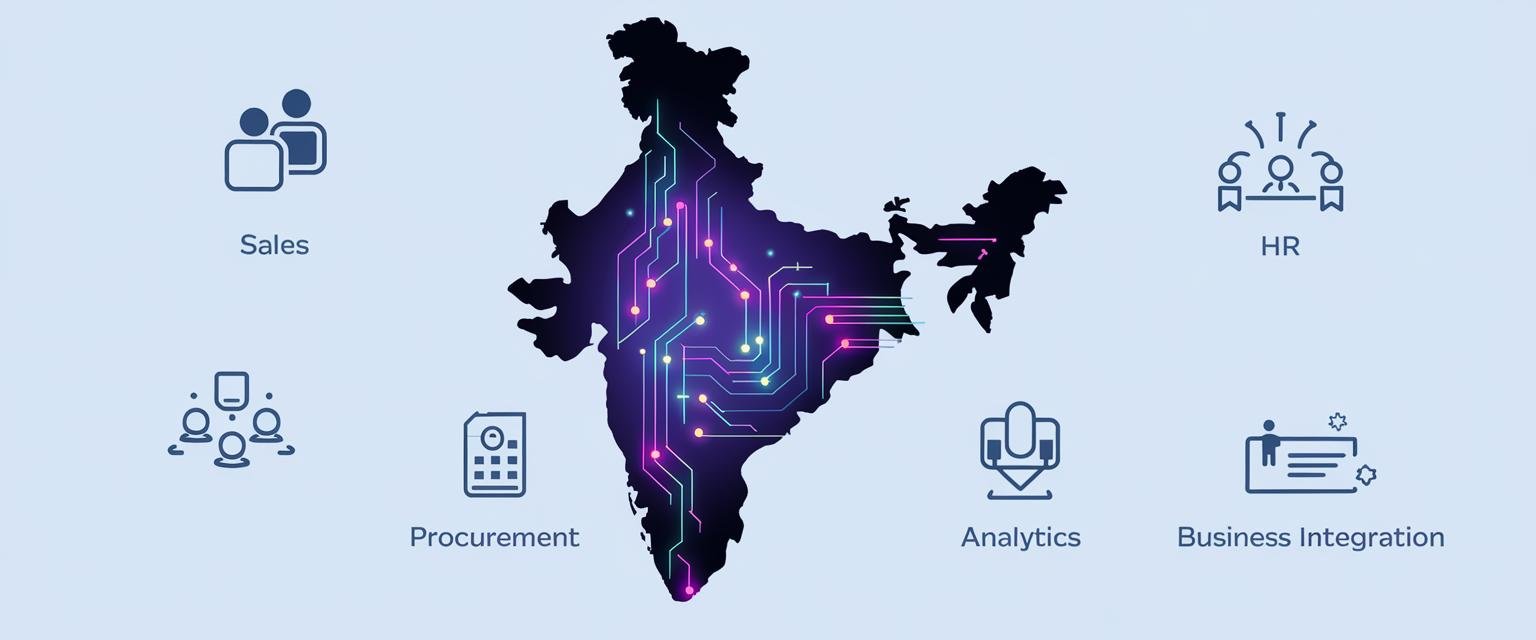
Top 5 SAP Certifications for Freshers in India: Your Gateway to In-Demand Skills
Based on current market demands, industry trends, and my direct experience helping freshers land their first tech jobs in India, I’ve compiled the top 5 SAP certifications that offer the best career prospects:
1. SAP Certified Application Associate – SAP S/4HANA Sales
Description: This certification validates your knowledge of Sales processes in SAP’s next-generation ERP system, S/4HANA. You’ll learn how to configure and implement basic sales functions like order-to-cash processes, pricing, and sales document management.
Demand in India: With many Indian companies migrating to S/4HANA, professionals certified in S/4HANA Sales are highly sought after. I was just at a tech recruitment event in Bangalore last month where employers were literally competing for candidates with this certification. Current job portals show approximately 2,000+ openings across major cities like Bangalore, Mumbai, and Delhi.
Relevant Job Roles:
- Junior SAP Sales Consultant
- SAP S/4HANA Sales Support Specialist
- Associate S/4HANA Configuration Analyst
Recommended Skills: Understanding of basic sales processes, analytical thinking, attention to detail, and problem-solving abilities.
Salary Range: ₹4-6 lakhs per annum for freshers with this certification.
2. SAP Certified Application Associate – SAP SuccessFactors Employee Central
Description: This certification focuses on SAP’s cloud-based human resources solution. You’ll learn to configure core HR functions, manage employee data, and implement organizational structures.
Demand in India: As Indian organizations prioritize HR digital transformation, SuccessFactors specialists are increasingly in demand. Currently, there are 1,500+ job openings for SuccessFactors specialists across major Indian metros.
Relevant Job Roles:
- Junior HRIS Consultant
- SAP SuccessFactors Support Analyst
- HR Technology Associate
Recommended Skills: Basic HR knowledge, logical thinking, communication skills, and a process-oriented mindset.
Salary Range: ₹4.5-7 lakhs per annum for freshers with this certification.
3. SAP Certified Application Associate – SAP Ariba Procurement
Description: This certification validates your ability to implement and configure SAP Ariba solutions for procurement and supplier management. You’ll learn about purchase-to-pay processes, supplier integration, and procurement analytics.
Demand in India: India’s growing focus on supply chain optimization has created substantial demand for Ariba specialists, with over 1,200 job openings across IT hubs. One of my students who completed this certification received three job offers within a month – all at salaries well above the average for freshers.
Relevant Job Roles:
- SAP Ariba Associate Consultant
- Procurement Solutions Analyst
- Junior Supply Chain Technology Specialist
Recommended Skills: Understanding of procurement processes, analytical skills, attention to detail, and problem-solving abilities.
Salary Range: ₹5-8 lakhs per annum for freshers with this certification.
4. SAP Certified Application Associate – SAP Analytics Cloud
Description: This certification focuses on SAP’s cloud-based analytics platform. You’ll learn how to create dashboards, reports, and perform data analysis and visualization.
Demand in India: Data analytics skills are highly valued, with approximately 1,800+ openings for SAP Analytics Cloud specialists across India.
Relevant Job Roles:
- Junior Business Intelligence Consultant
- SAP Analytics Support Specialist
- Data Visualization Associate
Recommended Skills: Analytical thinking, basic understanding of data concepts, attention to detail, and logical reasoning.
Salary Range: ₹4.5-7 lakhs per annum for freshers with this certification.
5. SAP Certified Application Associate – Business Foundation & Integration with SAP ERP 6.0 EHP7
Description: This certification provides a comprehensive understanding of SAP ERP’s core modules and cross-functional business processes. It’s an excellent general-purpose certification that gives you exposure to multiple areas.
Demand in India: Despite the shift to S/4HANA, many Indian companies still use SAP ERP, creating steady demand with approximately 2,500+ related job openings nationwide.
Relevant Job Roles:
- Junior SAP ERP Consultant
- SAP Support Analyst
- Business Process Associate
Recommended Skills: Understanding of business processes, analytical thinking, problem-solving abilities, and communication skills.
Salary Range: ₹3.5-5.5 lakhs per annum for freshers with this certification.
Quick Comparison: SAP Certifications at a Glance
| Certification | Best For | Job Demand | Starting Salary |
|---|---|---|---|
| S/4HANA Sales | Commerce/Business graduates | Very High | ₹4-6 lakhs |
| SuccessFactors | HR/Psychology graduates | High | ₹4.5-7 lakhs |
| Ariba Procurement | Supply chain/logistics interest | Very High | ₹5-8 lakhs |
| Analytics Cloud | Data/Statistics interest | High | ₹4.5-7 lakhs |
| Business Foundation | General business interest | Steady | ₹3.5-5.5 lakhs |
The digital transformation accelerating across Indian industries is creating particular demand for SAP professionals skilled in cloud-based solutions, which explains why certifications like SuccessFactors, Ariba, and Analytics Cloud feature prominently in this list. These areas present excellent opportunities for freshers to enter specialized domains with strong growth potential.
Key Takeaway: SAP Ariba Procurement certification is experiencing particularly high demand due to the increasing adoption of cloud-based procurement solutions in India. For freshers looking to maximize their employability, focusing on cloud-based SAP solutions offers the best return on investment.
Common Misconceptions About SAP Certification in India
During my years of coaching students through the SAP certification process, I’ve encountered several myths that need debunking:
Myth #1: “You need to be a technical expert to get SAP certified”
Not true! While technical aptitude helps, many SAP modules are business-focused. I’ve seen humanities and commerce graduates excel in SAP roles that align with their knowledge areas. What matters most is understanding the business processes behind the technology.
Myth #2: “SAP certification is too expensive for freshers”
While there is an investment required, many training partners offer installment plans. Additionally, the salary premium you’ll command with certification often means you’ll recover your investment within the first year of employment. I’ve worked with students who’ve secured company sponsorships for their certification after joining as interns.
Myth #3: “You need years of experience before getting certified”
Associate-level certifications are specifically designed for beginners. Many of my students have successfully passed their certification exams with no prior SAP experience, just dedicated preparation.
Myth #4: “Once certified, you’re guaranteed a job”
Certification greatly improves your chances, but you’ll still need to develop interview skills and practical knowledge. That’s why at Colleges to Career, we focus on holistic preparation that includes interview coaching and resume building alongside technical skills.
Your Roadmap to SAP Certification in India: Eligibility, Preparation, Cost, and Resources
Eligibility Requirements
The good news for freshers in India is that SAP Associate-level certifications have minimal formal prerequisites. Generally, you need:
- A bachelor’s degree (preferably in IT, Computer Science, Engineering, Business, or Commerce)
- Basic computer literacy
- Understanding of fundamental business processes related to your chosen module
While previous SAP experience isn’t required for Associate certifications, having some exposure to business concepts will help you grasp the material more easily. I always advise my students to spend a few weeks understanding the business domain of their chosen certification before diving into the technical aspects.
Preparation Strategies
To successfully prepare for your SAP certification exam:
1. Choose Official Training
- SAP’s official training courses, while more expensive, provide the most comprehensive preparation.
- Options include instructor-led training, virtual live classroom, or e-learning.
2. Self-Study Resources
- Official SAP certification guides and materials
- SAP Learning Hub (subscription-based access to learning content)
- SAP PRESS books specific to your certification path
- Online practice exams
3. Study Plan
- Allocate 2-3 months for preparation (studying 2-3 hours daily)
- First month: Learn concepts and understand processes
- Second month: Deep dive into configuration and implementation
- Final weeks: Practice tests and revision
I’ve found that students who follow a consistent study schedule with weekly goals perform much better than those who try to cram everything in the final weeks. One of my most successful students, Rahul, created a detailed study calendar and stuck to it religiously, scoring over 85% on his certification exam.
4. Gain Practical Exposure
- Access to a SAP learning system is crucial for hands-on practice
- Consider internships or project opportunities with SAP partner companies
- Join SAP Community Network to connect with experienced professionals
Certification Costs in India
The cost of SAP certification in India varies based on the certification type and training approach:
1. Exam Fee
Approximately ₹20,000-₹25,000 for most Associate-level certification exams.
2. Training Costs
- Official SAP Training: ₹60,000-₹1,20,000 depending on the module
- Training through SAP partners: ₹40,000-₹80,000
- Self-study with SAP Learning Hub: Starting at ₹70,000 annually
3. Financial Options
- Some IT training institutes offer installment payment plans
- Certain companies sponsor certification for promising candidates
- Educational loans from banks for professional certification
I recently helped one of my students negotiate a 25% discount with a training provider in Pune by forming a group of five students who enrolled together. Don’t be afraid to ask about group discounts or special offers for students!
SAP Training Centers in India
Based on feedback from my students and industry connections, here are some reputable training providers in India:
1. Official SAP Education Partners
- ATOS India
- Koenig Solutions
- Itelligence India
- Siemens Information Systems
2. Private Training Institutes
- IIHT
- Sevenmentor
- Multisoft Systems
- SimpliLearn
3. Online Learning Platforms
- Udemy
- Coursera (partnered with specific providers)
- SAP Learning Hub
When selecting a training provider, verify their credentials, check reviews from past students, and ensure they provide access to a SAP practice environment. I’ve had students have particularly good experiences with training centers that offer post-course support and mock interviews.
The National Skill Development Corporation (NSDC) in partnership with SAP has also launched initiatives to make SAP training more accessible to Indian students through subsidized programs. These programs aim to create a skilled workforce aligned with industry requirements.
Key Takeaway: Consider enrolling in a structured training program offered by a reputable SAP training center in India to maximize your chances of success. While self-study is possible, having access to hands-on practice environments and expert guidance significantly increases your chances of passing the certification exam.
Your SAP Certification Questions Answered
What prior knowledge is needed to start with SAP certifications?
A bachelor’s degree in a related field like engineering, computer science, business, or finance provides a helpful foundation. For Associate-level certifications, no prior SAP experience is required, but understanding basic business processes relevant to your chosen module will give you an advantage. For example, if pursuing SAP S/4HANA Sales certification, familiarity with sales processes is beneficial. Focus on building a strong conceptual understanding before diving into technical details.
I often recommend students spend 2-3 weeks reviewing fundamental business concepts in their chosen area before starting SAP-specific training. This approach has consistently led to better comprehension and exam results for my mentees.
How long does it typically take to prepare for an SAP certification exam?
Preparation time varies based on your background, learning pace, and the specific certification. For most Associate-level certifications, allocate 2-3 months of dedicated study. This timeframe assumes you’re studying consistently (15-20 hours per week). Those with relevant business experience might progress faster, while complete beginners may need additional time. The key is consistent, structured learning rather than cramming right before the exam.
From my experience coaching students, those who spread their study over 8-12 weeks with regular practice sessions perform much better than those attempting to learn everything in a shorter period.
Are SAP certifications worth the investment for freshers in India?
Absolutely! SAP certifications provide one of the best returns on investment in the IT certification landscape. In India’s competitive job market, having an SAP certification gives you a significant edge over other candidates. The skills gap in the SAP ecosystem means certified professionals are in high demand.
In my role at Colleges to Career, I’ve personally guided freshers who went from zero callbacks to multiple interview requests within weeks of earning their SAP certification. Just last month, one of my mentees landed three job offers with salaries 30% higher than his peers, all because he had the right SAP credentials on his resume.
Can I get a job immediately after getting certified?
Certification improves your chances significantly, but employers also value practical experience. To maximize your employability, supplement your certification with hands-on practice through internships, project work, or entry-level support roles. Many IT consulting firms in India have special hiring programs for SAP-certified freshers where they provide initial training before assigning you to projects.
Networking with SAP professionals through communities and LinkedIn can also open doors to opportunities not advertised publicly. I’ve helped students connect with alumni at major consulting firms, which led to referrals and interview opportunities they wouldn’t have accessed through traditional application methods.
Don’t forget that your resume needs to be tailored to highlight your SAP certification and relevant skills. Even with certification, you’ll need to position yourself effectively to stand out in the job market.
Conclusion
SAP certification offers freshers in India a powerful pathway to launch their careers in the technology sector. By choosing the right certification aligned with market demands and your interests, you can significantly boost your employability and earning potential.
Remember that the Associate level is your ideal starting point, providing a solid foundation upon which to build your SAP expertise. Focus on cloud-based solutions like S/4HANA, SuccessFactors, and Ariba, as these areas are experiencing the strongest growth in the Indian market.
While the certification journey requires dedication and investment, the returns in terms of career opportunities and salary potential make it worthwhile. The structured knowledge and validated skills you gain will set you apart in India’s competitive job market.
At Colleges to Career, we’re passionate about bridging the gap between what you learn in college and what employers actually need. I’ve dedicated my career to helping students make this transition, and I’ve seen firsthand how SAP certification can be the perfect stepping stone to launch your tech career in India. Ready to take the next step? Explore our interview preparation resources to help you ace those SAP job interviews!